My course has requested that all students participate in the
NUA Incident’, which is a short game that will be available to play at the
exhibition. For us students, it involves submitting one asset, with a 512
colour texture and a poly budget of no more than 500 tri’s. It is quite a
simple task, one that should be achievable by students from all year groups,
and from people who’s strengths lie in 2D work, like digital painting.
I personally relish the challenge, as I love creating models
in Maya. I chose quite a complex object; the ubiquitous, Soviet made RPG-7. The
name ‘RPG’ is quite often incorrectly referred to as a ‘rocket-propelled grenade’,
however, this is a western-born acronym, and is inaccurate. ‘RPG’ really stands for:
Ручной Противотанковый Гранатомёт Ruchnoy Protivotankovyy Granatomyot, Hand-held anti-tank grenade launcher. Entering service with the Red Army in 1961,
the RPG-7 has since made appearances in many Hollywood movies and Triple A
video game titles.
I started by looking for good quality
orthographic drawings of the RPG, searching for blueprints and schematics.
Ideally I would need; left, right, top, bottom, front and back views of the
launcher to get the most accurate model. However, I was only able to gather a
decent-quality side view. In addition, I did collect lots and lots of
photographs of the RPG-7; close-ups of its different components, people holding
and firing the weapon, shots of it from many different angles etc. I even found
images of its ‘in-game’ model from recent games like Call of Duty and Battlefield.
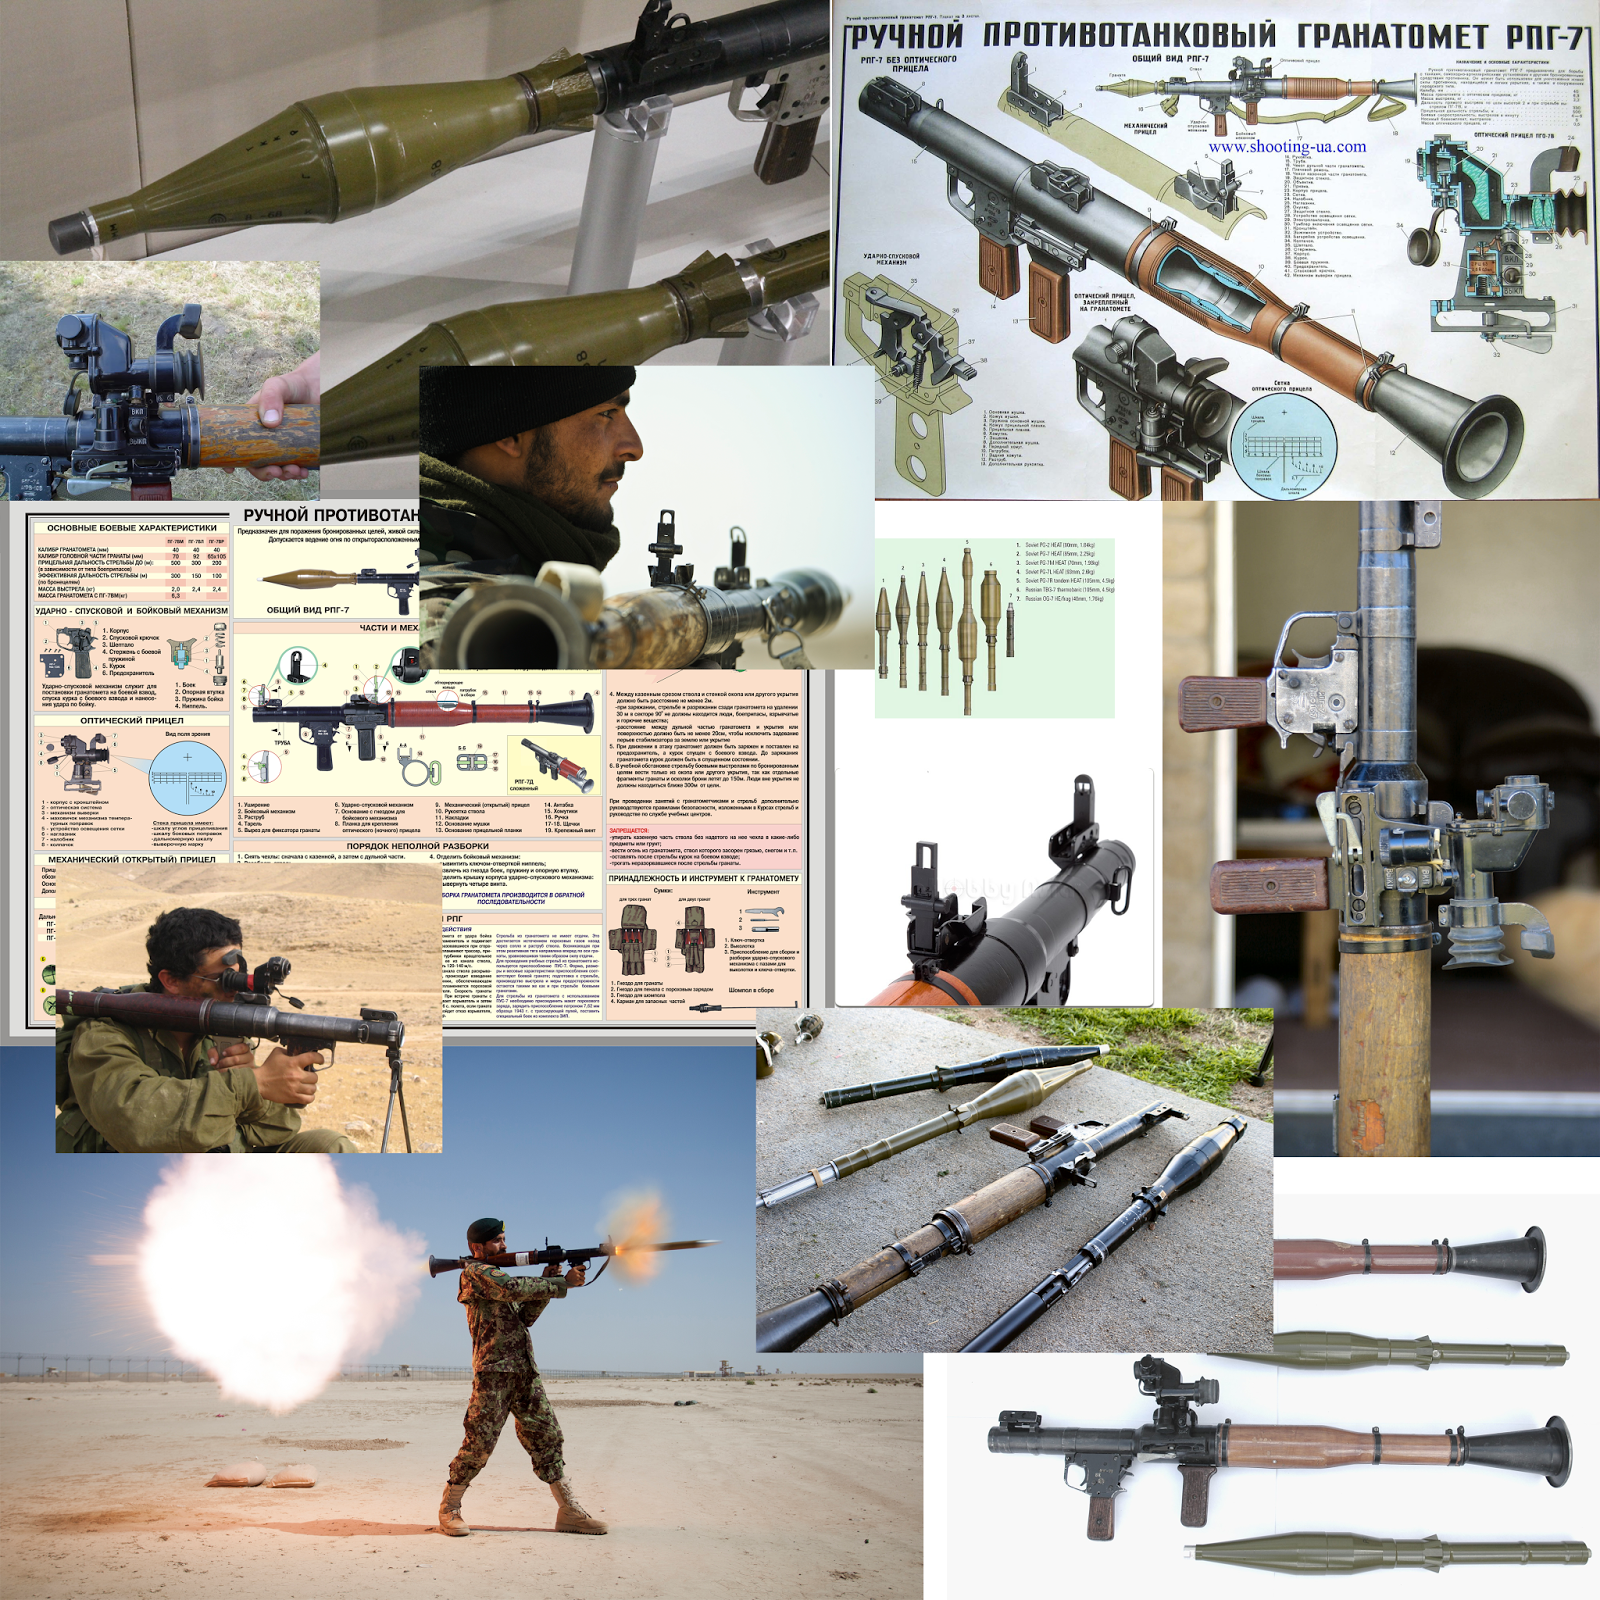 |
| A sample of reference images I collected for my model |
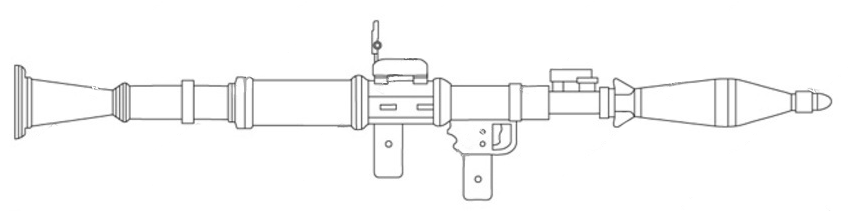 |
| This is the side-view image I used in creation of the asset |
After I had the correct reference, I
looked at the RPG-7 and decided what polygon primitive it matched with in basic
shape. I chose an elongated cylinder, as I thought the RPG is essentially just
that: a tube. Keeping in mind my budget of 500 tri’s, I manipulated the
cylinder into the outline of my side-view reference image, adding edge loops
and moving vertices. After some back-and-forth with poly count against
attention to detail, I came up with a model I was satisfied with. It was fairly testing to create a model with
such a low poly count, but I had never done something like this, and it was
quite exciting, and good experience as well. Then came the stage of unwrapping
my model’s UV’s. I tried to use up as much of the space in my allotted texture
square as possible. I kept all the
pieces of my model’s UV’s the same size as to avoid stretching. I found it was a case of breaking down the
different parts of the model and grouping them together in the UV space, and
keeping any ‘seems’ in places, which would be hard to see. Once I had laid out the UV’s as best as I
could, I began my diffuse map with basic blocks of flat colour. E.g. green for
the warhead, brown for the wooden heat shield, a dark grey for the metal etc. I
am not very confident when it comes to texturing, as it is something, which is
still new to me. Nevertheless, I pressed on and gathered a few textures from
the Internet. I added them to my Photoshop texture file as overlays, so to add
realistic detail to the flat colour of my texture. The final stage of this
asset was to add some fine details and ‘weathering’ to the texture. I added
some light chipping to the metal areas, and created text and other small
embellishments such as rivets and screws to appropriate areas.
I got a great feeling of accomplishment
once I had submitted the model and texture to the server.